Design Thinking in the classroom actually came to me later than the Engineering Design Process. I must say, I like it a lot! It’s like the cool older brother of the design processes. It doesn’t matter which one of these you use in the classroom when it comes to creating and designing with students. It does matter how you… SET IT UP as a routine for elementary students. Welcome to the Set It Up Series… Issue 3! Read the past issues and get all they systems and processes you need to create a STEAM culture: Let them Curate and The Engineering Design Process for Kids.
Let’s lay this one out for you and get you started!
Design Thinking Steps
- Empathize
- Define
- Ideate
- Prototype
- Test
These are the basic Design Thinking Steps. You can add more in if you like, but remember this is cyclical… meaning one step may lead back to another. They don’t have to happen in this order, but if there has to be an order, this is the one to follow!

Step 1: Creating Empathy
When using Design Thinking in the classroom, students need to understand the lingo of the steps and what happens when they are working within one. It’s a real process that they know backwards and forwards. This will take time and consistency. The first step of the process is to create empathy. I think it’s really neat that we bring attention to the fact that in order for a project to be successful we must have feelings for it. We must begin to understand how a problem is affecting others or ourselves and recognize the need for a solution. I love when students get passionate about helping others.. It makes my soul dance in the sun.

So what can elementary students empathize with? Honestly, you never know until you try to find it with them. Here are some tips for helping younger students empathize:
- Share it with a story and literature.
- Watch it in a video clip… there are some powerful videos out there for this.
- Discuss photos and identify emotions that can be seen.
- Role-play scenarios with students.
- Share anything with animals.. Kids love animals!
- Daily discussions.
- Create a classroom community with responsibilities in the classroom.
- Participate in random acts of kindness.
- Make the community around the school or classroom better.
- Teach students how to disagree and understand that perspective changes everything.
Step 2: Define the Problem
Once a problem has been recognized and needs a solution, to clearly define this problem we can’t use our own thoughts alone. We need to find out from those the problem directly affects. For instance, if students recognize that lunch is running behind. We need to ask students, teachers, and the cafeteria staff for input on the problem to know exactly what we are dealing with. This step may require some reading and research. We may not always have access to those that a problem directly affects. For elementary students, this is hard. They don’t know how to really dig either online or in person.
To get students working well during this step, a lot of teacher modeling is required. That’s ok! That’s what life is about…. Watching, learning, and doing.
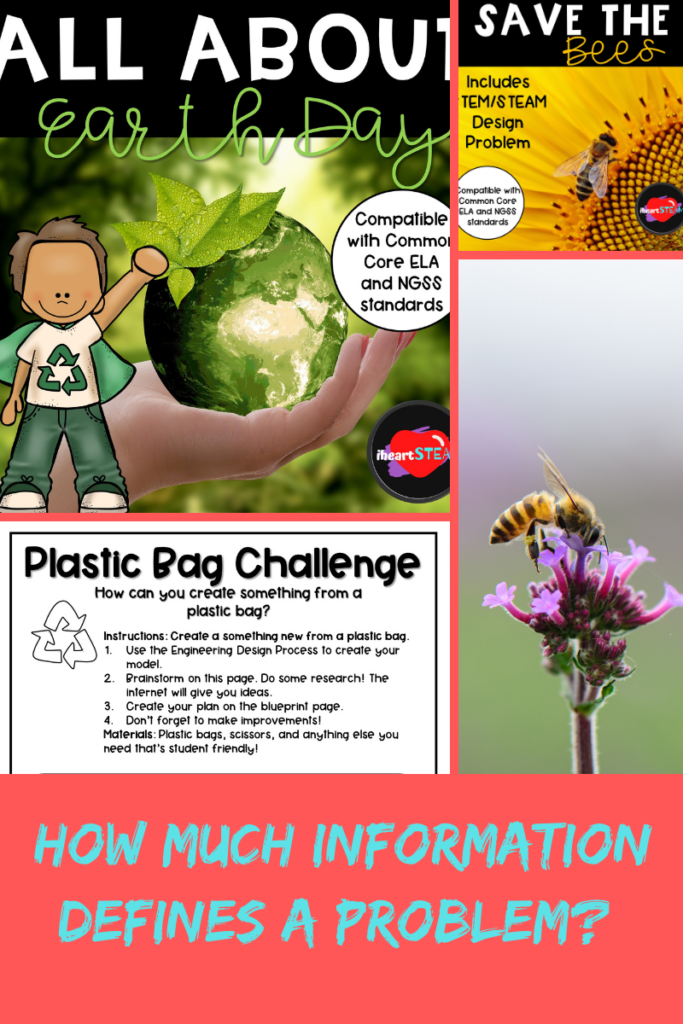
During this phase, it’s great to really use content that benefits the standards you need to teach! When students read and work through comprehension activities… which are content standards we need to teach… they essentially are doing the work, research, and defining the problem. Take a look at some of these completely integrated ELA units with problems students can relate to: Save the Bees, All About Earth Day, and All About Composting.
Step 3: Ideate

The first time I ever heard this word, I literally asked a coworker if it was a real word. True story. It is a real word. This step, just like defining the problem, takes some serious modeling before students really take it to the limits. There is no limit when it comes to ideation. Anything under the sun. Every idea counts. Get weird. We can thank the peeps over at IDEO who started this whole thing for us!
Students have a hard time doing this. A really hard time doing this! Why? They don’t like to color outside the lines for the most part. Students truly want to make everyone happy. They have learned that their crazy curious ideas that they put into action can lead to trouble or being made fun of. So yeah… this is hard. So model it.. Get weird.. Get silly.. Show your ugly and be proud! Help your students come out of their shells!
Step 4: Prototyping
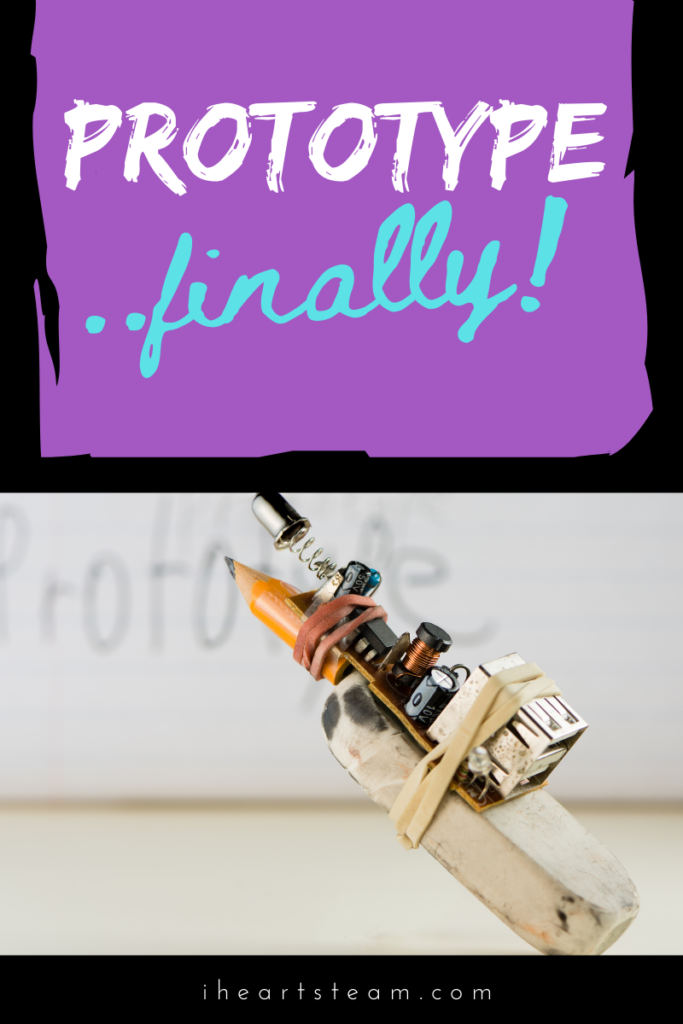
Design Thinking in the classroom is designed to teach students to be okay with change, make things better, and understand the world around us. By prototyping, we give ourselves a cushion to fall on if we fail. Prototyping is the first rendition of a new idea. That means.. It can be changed, if something goes wrong.. It’s ok, and we accept the fact that we probably are going to make improvements soon because no one expects to be perfect the first time.
This is that cool older brother characteristic of Design Thinking… Yeah… I prototyped it so that if it didn’t work when I flipped the switch, it just meant my design wasn’t done fermenting. See what I mean. It rolls off the tongue quite nicely!
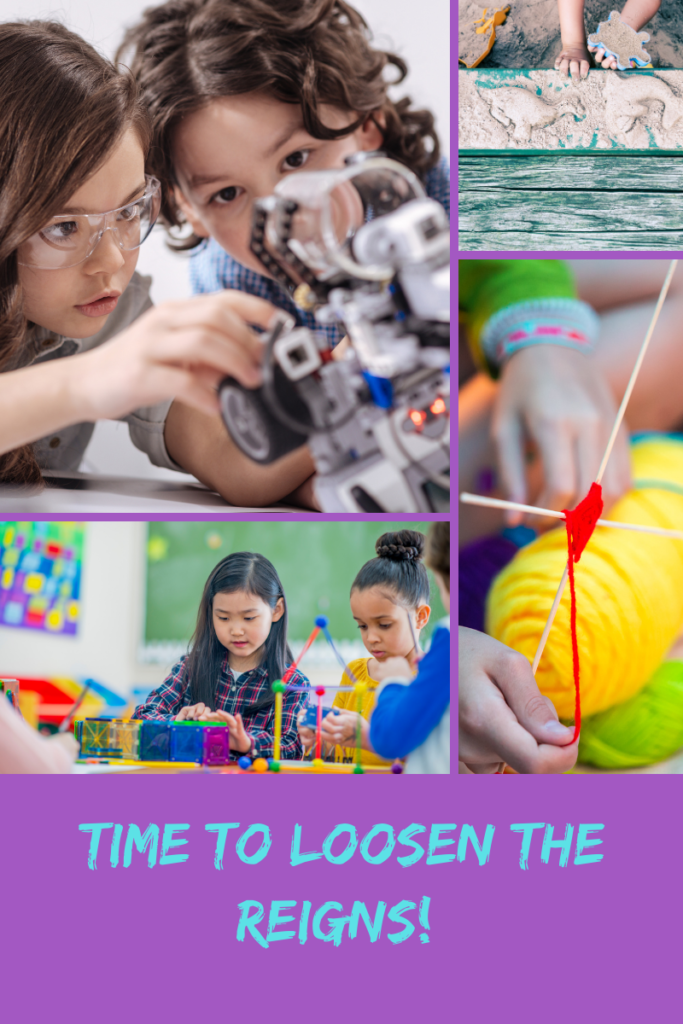
Your students, by the way, have been waiting for this step for a long time. This step means that they finally get to put stuff together, use cardboard, code, glue, Lego, and basically make a huge mess. You need to be ready to do this. As long as you have a system for using materials and a system for cleaning up… YOU WILL BE FINE!
Step 5: Testing

Here we go… the biggest student transformations that will prepare them for life in BIG ways is testing. Why? Well, during this step things may not work, others will have input, or they may not even make it here. It’s hard for them. But… it’s actually harder for TEACHERS! Yes. Teachers. We want them to be successful. We have to watch them head down the possible wrong path, and it hurts! OUCH! It’s hard to watch!! Be purposeful on poised… you can let them fail!
When it comes to Design Thinking in the classroom, you know, ideas lead to other ideas. We may have to go back to defining the problem. We may even have to go back to ideation from testing. It’s all okay! There is so much flexibility within the design process. Life lessons here will come ten-fold.
One of my favorite resources and avenues for creation is Maker’s Empire. Students can use this application to create 3D print designs. You don’t have to do that if you aren’t ready, but go grab some of there handy Design Thinking resources and guides! You will love them! Using this STEAM guide you can start to see how all the design processes can work in a STEAM cultured classroom! Grab it and get started! Come on over to the STEM/STEAM University Facebook group and get even more support and a community to support you!


